Synthesia has been a game-changer in the video creation and editing industry with its cool text-to-speech capabilities. The tool can create a brand-new video within a few minutes.
In this article, I’ll share 6 steps following which you can create an eye-catching video using AI. Let’s begin.
Step 1: Prepare a script
Before you start creating a video, prepare a good video script that speaks for your brand purpose. A good script usually focuses on:
Your audience and goal
The type of video you want — informational, entertaining, or both
The type of visuals you want to include
So, make sure to revolve your script around these three and the topic without a diversion.
Step 2: Choose a Video Template
Log into Synthesia STUDIO once your video script is ready. In the dashboard, you’ve got a few ways to start making a video:
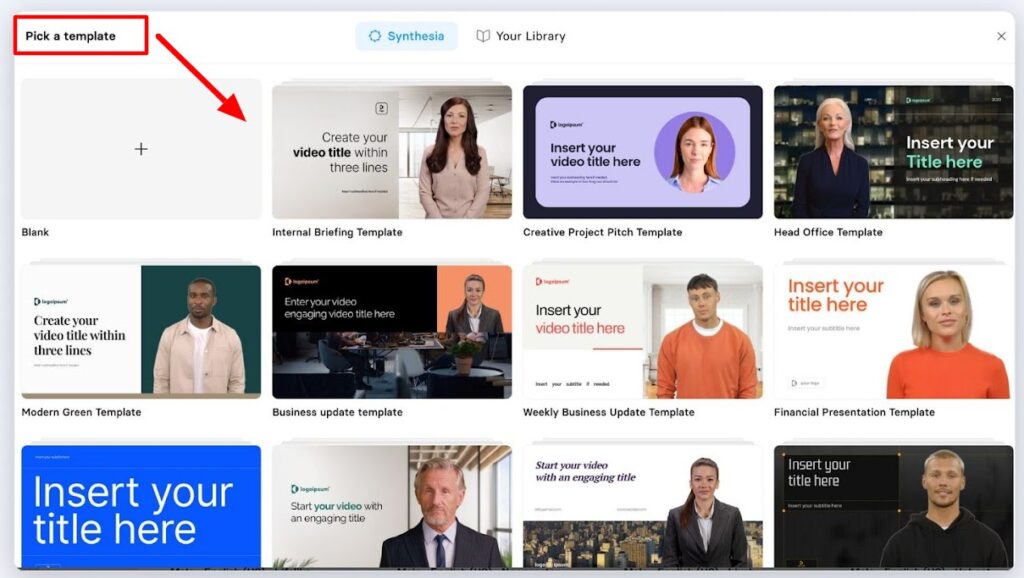
Click on the ’New video’ in the top right corner to get a stream of options. Then, choose either a video from a blank slate or one of the 55+ pre-designed templates.
To start with a pre-designed video template, you can also choose to go to the ‘Templates’ tab on the left-hand side.
3. Lastly, you can use your presentation slices as background in the video via the ‘Import PowerPoint’ option.
If you’re using a template, add more scenes as per your choice with the ‘+’ on the right-hand side of the video canvas. There, you’ll see all the video scenes to fit the template to help you pick from.
Step 3: Pick an AI Avatar
Now, let’s choose the avatar(s) to choose in your video.
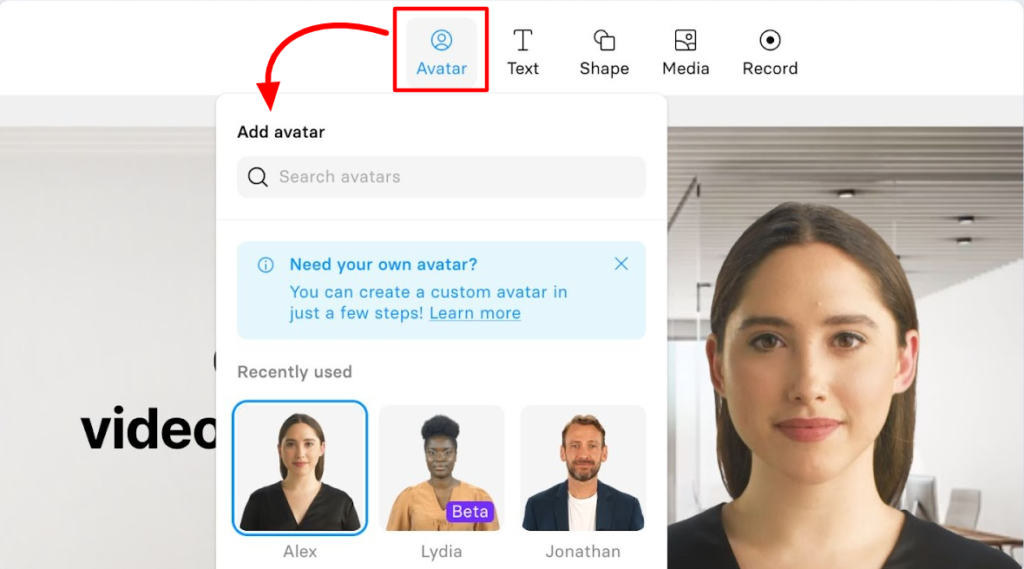
Simply, click on the ‘Avatar’ option on top of the video canvas and choose the one that fits.
You will find out that most avatars come in two types of framings — waist-up and chest-up. To adjust, you can use the same framing on all slides, or mix and match the framings in different scenes.
When you click on the avatar, an avatar layout window will show up. There, you can switch between different avatar views, including the full body view, circle view, or no avatar view (and only voiceover).
You can also create your own avatar from your Synthesia STUDIO dashboard. Go to the ‘Avatars’ section and click on ‘Create your own avatar.’ This way, you can make a web avatar in 5 minutes, or a custom studio-quality avatar.
Note that the avatar only moves in the generated video and not in the preview.
Step 4: Paste the Script & Create a Voiceover
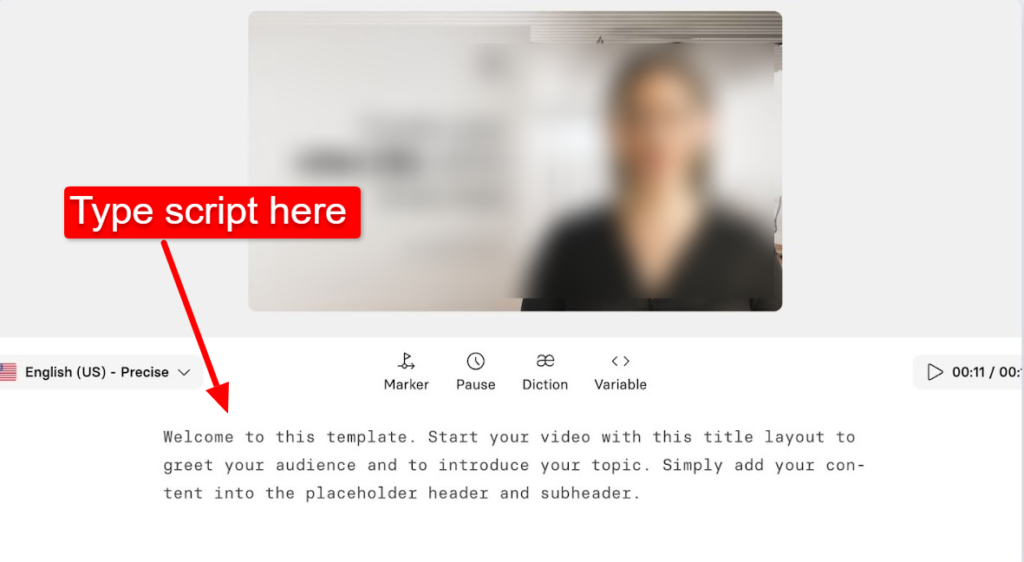
Once you’ve settled down your video’s layout, copy the script and paste it into the script box scene by scene. As you add the script, Synthesia will automatically detect the language of the script.
Moreover, Synthesia will choose a voice that fits with the avatar the best. However, you can change it with any voice of your choice by clicking on the ‘Voice Selector.’
Step 5: Start Editing
Till now, your video is probably still rough and not ready to go out. So, let’s add some visuals, animations, and transitions to make it better.
Here are some visually appealing options that you can go for.
Text
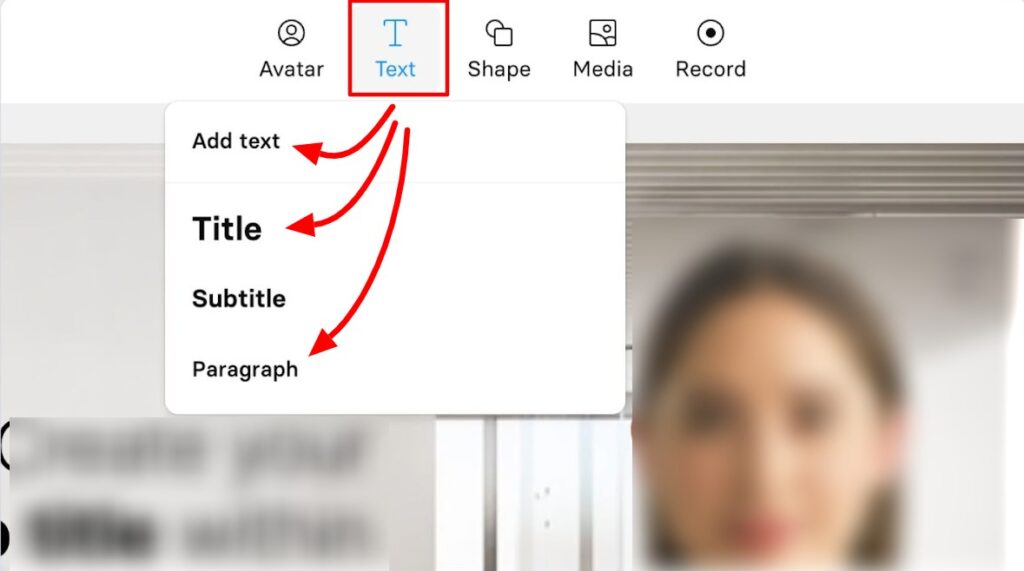
On the top of your video canvas, click on ‘Text.’ Choose between Title, Subtitle, or Paragraph as your choice.
Drag the text box across the video canvas to change the layout. Or, add precise coordinates on the right-hand side. In addition, you can also change the font, color, size, style, spacing, and alignment.
Shape
Choose the ‘Shape’ on top of the video canvas to add a shape. Then, click on the shape and move to the right-hand side to adjust it. You can change the color, border, fill, opacity, shadows, layout, and animation this way.
Images, Videos, & Icons
Hop on the ‘Media’ icon on the top of the video canvas to add images, videos, and icons.
To add images, you can search for your already used media in the ‘My library’ icon. Moreover, you can add stock images and videos from the ‘Stock content’ option or upload your own visuals with the ‘Upload media’ option.
Screen recordings
Another option on the top of the video canvas is ‘Record’ which allows recording your screen. With this feature, you can choose a specific tab, window, or the entire screen to record.
Additionally, you can trim, loop, cut, or stretch the recording later on to match your script.
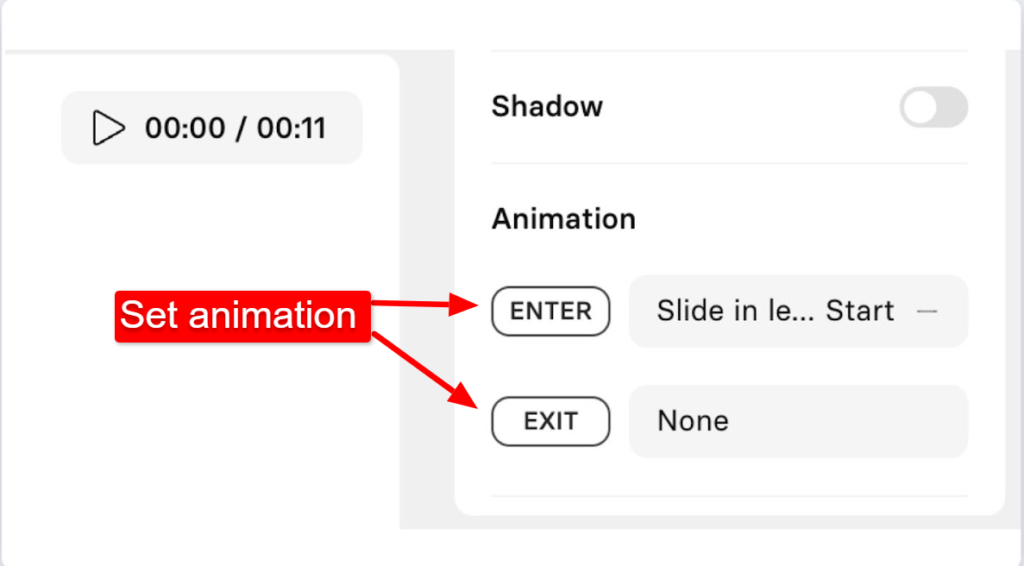
Animations
For ‘Enter and Exit animations,’ select the element to animate, and scroll down to the ‘Animation’ section on the right-hand side.
Then, select your choice of animation type and adjust the velocity, delay, and duration. In addition, use trigger markers to tie your animation with the script with these steps:
Add a ‘Marker’ in the needed place within your script.
Select the marker the same as the animation trigger.
Transitions
In Synthesia STUDIO, you can add transitions between individual video scenes with these steps:
Click on a scene of your choice on the left-hand side.
Turn on the ‘Scene transition’ toggle on the right-hand side.
Once done, you can choose the needed scene transition and add it.
Music
Lastly, click on your desired scene on the left-hand side and enable the ‘Music’ toggle to add music. Given the choice, you can either add one from stock options or upload your own audio file.
Step 6: Generate The Video
Finally, your video will be ready at this point!
Preview the video by clicking ‘Play’ in the top right corner. Once you approve of it, click on ‘Generate’. Fill in the details such as video name, description, and automatic captions (if needed).
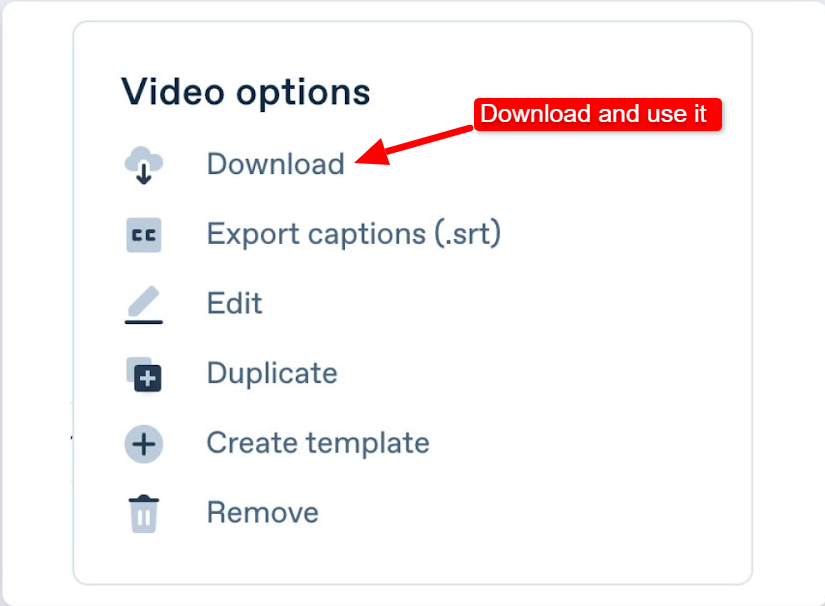
It’ll take a few minutes to generate, depending on the video’s length. Once it’s finalized, you can download, edit, or duplicate it for use.
And yes, here’s your AI generated video using synthesia — ready to use!